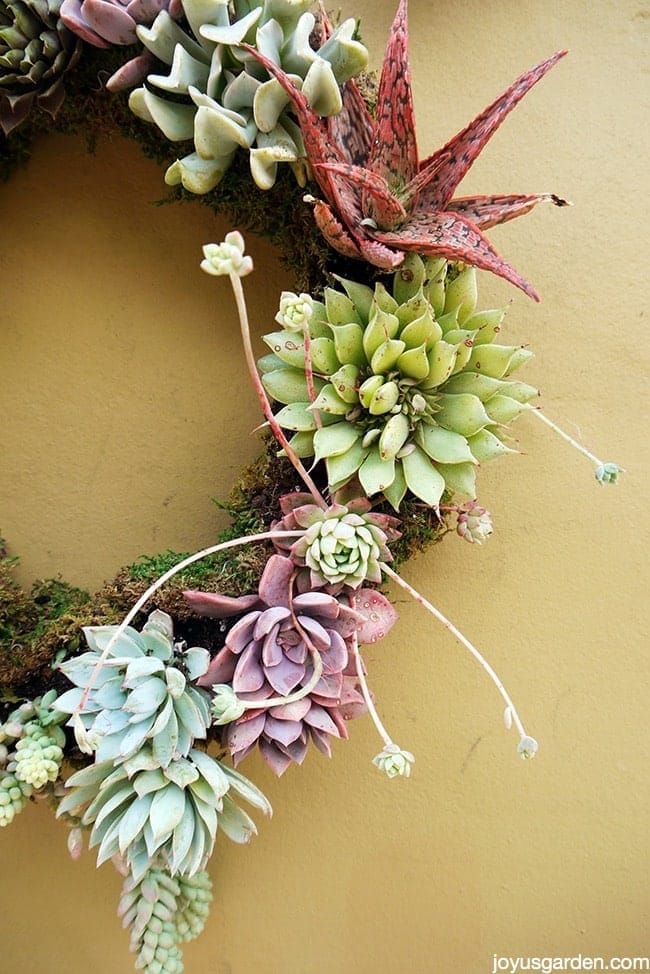
As you know, I’m a succulent maniac. I have a lot of them planted in my garden and in pots. I jump at the opportunity to make anything using these interesting, durable and visually diverse plants. Alright already, it’s about time I make 1 of these wreaths! Succulents are fun to look at and easy to maintain which makes them so fitting for this project. So drumroll please, today I want to show you how I make a living succulent wreath, using plants, in 5 easy steps.
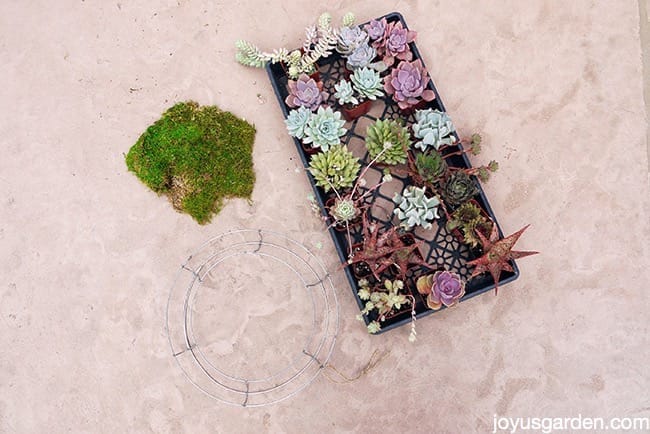
Here are the main ingredients I used to make my living masterpiece.
MY LATEST VIDEOS
You’ll need:
–> A living wreath wire form (I used a 12″). Make sure you get 1 you can plant in, not a flat form. I needed to attach a hanger but some already come with 1.
–> A variety of succulents. I used 16 of the 2″ pot size.
–> Greening pins. These are what holds the moss in place – you’ll see me using them in the video.
Here I am at my work table in the garage guiding you through this living succulent wreath project:
I made a festive grapevine wreath with succulent cuttings which I posted back in December. I’ve also made 1 using a sphagnum moss wreath form which I don’t like as much as these wire wreath forms. These wire forms come in a variety of sizes, shapes, including square and heart, as well as a variety of planting depths and widths. The 1 I used was a bit on the tight side so I used 2″ succulents. The 1″ size would have been fine too.
Here are the steps to take:
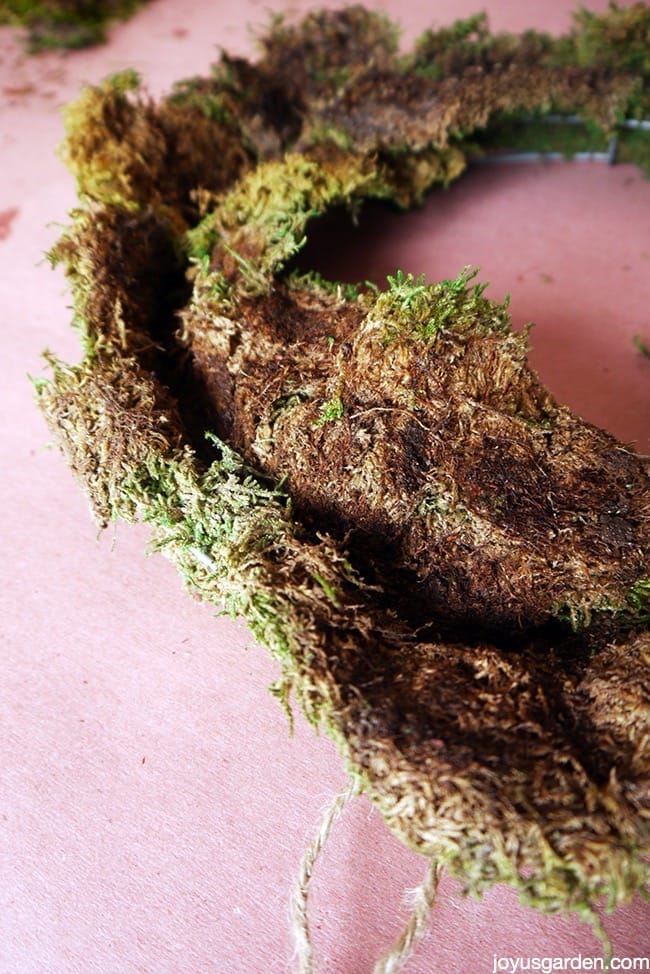
1- Line the wire wreath form with the moss. Tip: wet the moss to make it more pliable. Don’t worry if the moss doesn’t look neat & even because it doesn’t grow in nature that way. Just make sure the bottom & sides of the form are lined & that you have enough moss to fold over & cover the root balls of the plants.
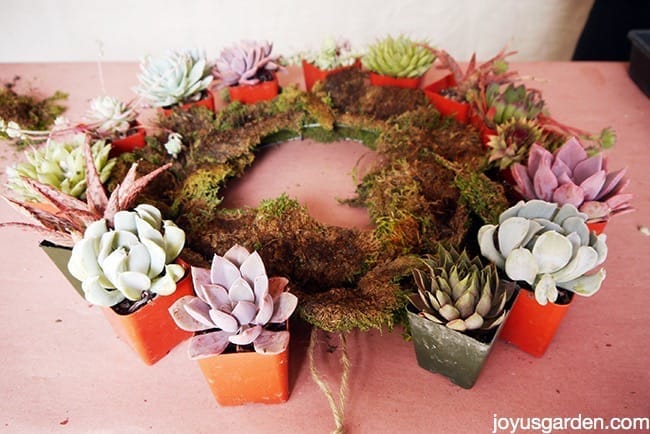
2 – Lay the plants out around the wreath form to determine what pattern is pleasing to you. Tip: use succulents which all stay rather low & tight (more in a rosette) rather than ones that grow taller with a stem. That way your wreath will keep a much better form over time.
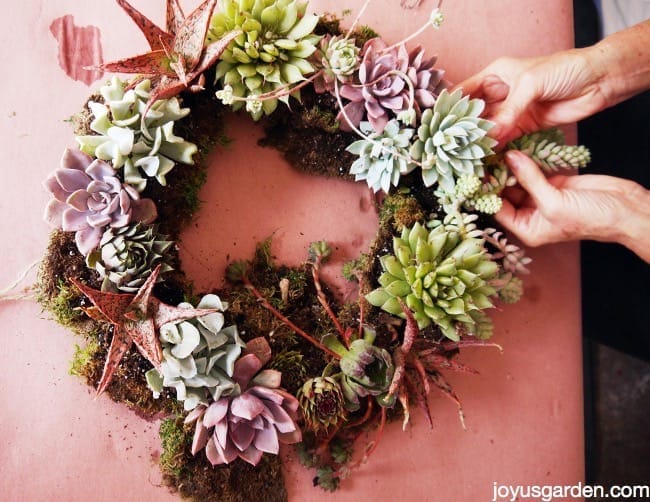
3- Compact the root ball of the plants by lightly pressing them in your hands to get them in the form. Tip: if you water your succulents before doing this it’s much easier. I had to do this because the planting well of the form I used was relatively small. Don’t worry because succulents are tough & can handle a gentle massage! Your may not need to do this if your form has a larger planting space. Either way, you’re bound to make a big mess like I did.
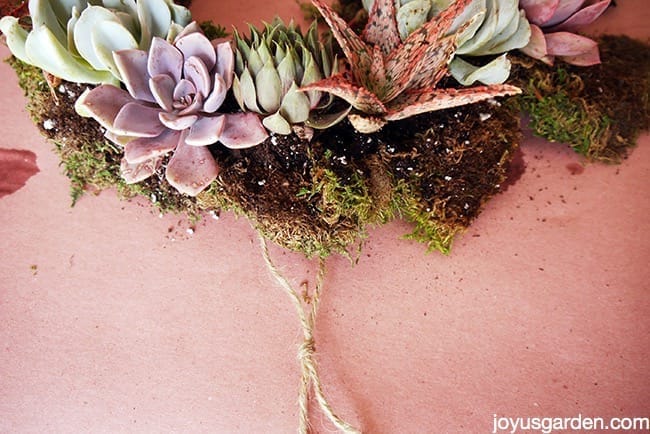
4- After all your succulents are in (I needed to add 1 more at the end – you see it in the video) then fold the moss that’s hanging over the edges back over the soil of the root balls. Tip: greening pins make it very easy, just fold & pin, to secure the moss. Make sure you push the pins all the way down into the soil so the moss holds tightly in place. You may need to go back over & patch some pieces of moss over any exposed areas of soil as you want it completely covered with moss.

5- Although I have the wreath hanging in this pic, I immediately laid it down my back patio. This Is The Biggest Tip: make sure your wreath lays flat for at least 1 month, preferably 2, as the roots settle in. You don’t want to hang it on your door or wall & have it completely fall apart. Also, keep it out of any direct hot sun.
I adjusted the succulents a bit to angle them the way I wanted them to grow. This also makes for a bit more interest rather them having them all lined up and growing in a perfect circle. I don’t water the wreath for about a week (remember, I watered the succulents before planting them in the form) and after that time, give it a good drink.
By the way, this living succulent wreath project took me about 45 minutes so it’s a quick one. I do a lot with succulents and am always looking for some creative way to use them. How about you – do you have succulent mania too? If so, we’re definitely not alone on this one!
Happy gardening,

