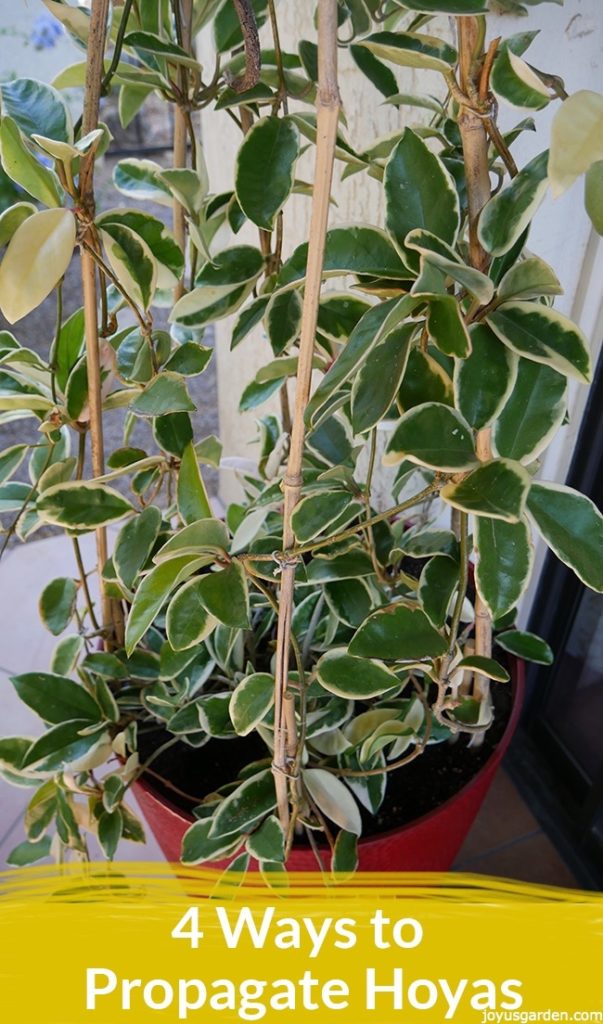
Oh my beautiful, stunning Hoya – how I do love you and how far you’ve come! Literally. I bought you in a 4″ pot years ago at Roger’s Gardens (a horticultural playground) in Corona Del Mar, CA. Then, you came home with me to Santa Barbara where you soon got transplanted into a 6″ pot and then eventually into a low bowl with bamboo hoops.
Fast forward to your a new home in Tucson and your snazzy red 24″ pot and extended bamboo hoops. Here’s how I prune, propagate and train my stunning hoya which is happy as can be and has grown like crazy.
By the way, this gorgeous Hoya carnosa variegata of mine grows outdoors year round. Come spring it puts on a growth surge like most plants do.
Some Of Our General Houseplant Guides For Your Reference:
- Guide To Watering Indoor Plants
- Beginner’s Guide To Repotting Plants
- 3 Ways To Successfully Fertilize Indoor Plants
- How to Clean Houseplants
- Winter Houseplant Care Guide
- Plant Humidity: How I Increase Humidity For Houseplants
- Buying Houseplants: 14 Tips For Indoor Gardening Newbies
- 11 Pet-Friendly Houseplants
How to Prune a Hoya Plant
This was much more of a light pruning rather than a heavy pruning. Think of it as trimming as opposed to a haircut.
Propagation Tools
I only used 3 materials: my Fiskar Floral Nips, natural cotton twine and a vase for the cuttings.
I’ve had my floral nips for years and love them for projects like this. They’re pointed, sharp, and make a clean, precise cut that you want for any pruning job. The cotton twine is durable, long-lasting, and easy to work with but I’ve used jute twine too.
I pruned the trails that were about to hit the patio floor. The stems were growing back on themselves. They thinned out some of the inner growth and the odd few weak stems.
With any pruning job, I do the 1st round on the conservative side. I figure I can always take more growth off but I can’t put it back on!
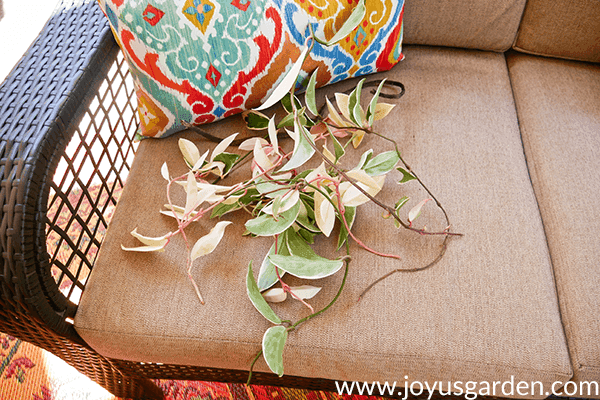
These are most of the stems I took off. The weak ones weren’t going to the propagation table. Spring & summer are the best times to prune & propagate your hoya.
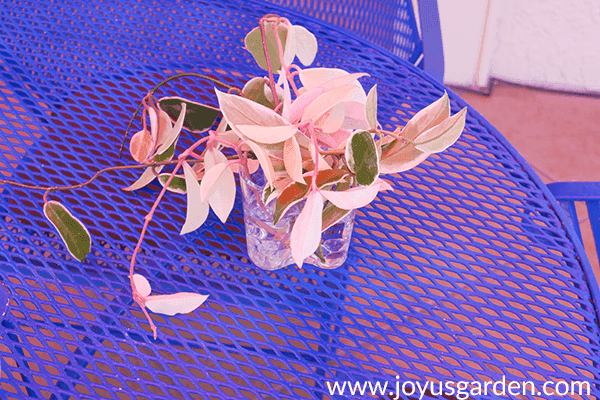
I took the stems down a bit & trimmed off the lower leaves. I cut a couple of the stems in half to shorten them. You want to make sure the water in your vase or jar is covering the bottom leaf nodes.
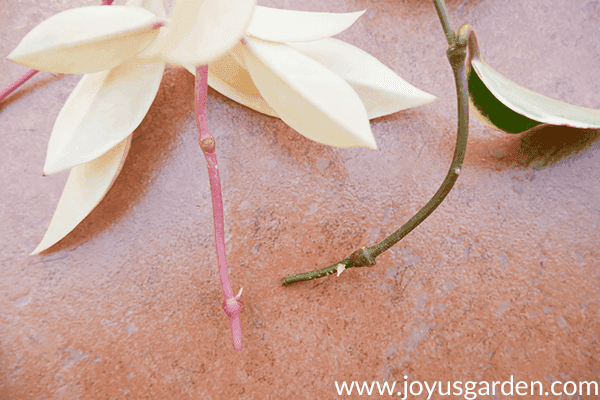
The rooting process happens fast on some stems. These little roots appeared about 5 days after the cuttings were taken. The other stems were showing roots after 10 days. Hoyas easily propagate in water – my favorite method!
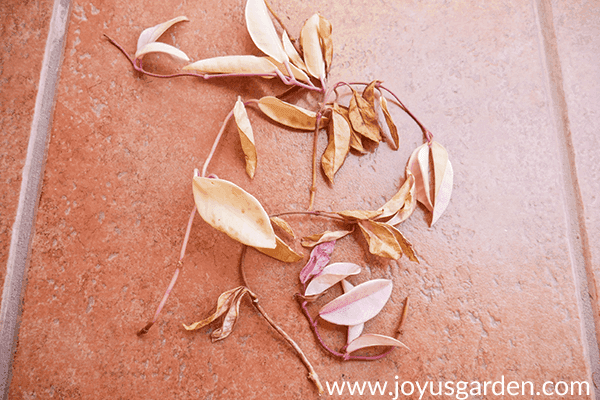
Fast forward to another week later. The pink stems with the white & pinkish leaves mushed out at the base of their stems. They’re pretty but not for propagating. Has anyone else found this to be true?
How to Train Your Plant to Transform into a Stunning Hoya
On to the training. Nothing too artistic going on here but I did train the stems on the bamboo hoops so the leaves face outwards and cover up any of the bare spots on the hoops. Then, there were a few areas which were a bit thick so I thinned them out a hair. I like the look of some of the stems trailing down out of the pot and let them grow until they get close to the ground.
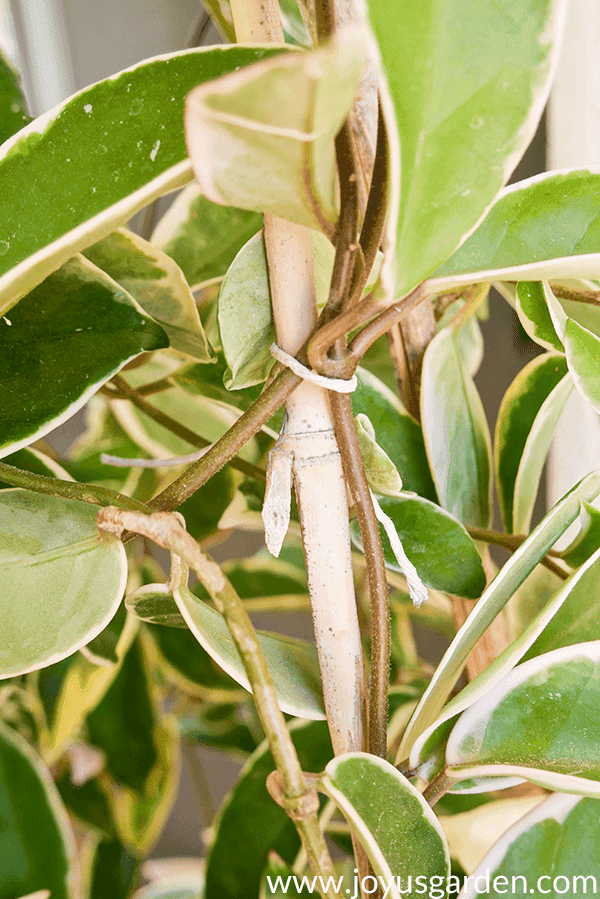
The twine holds the stems up just fine because the hoops have nodes too. I tie the twine just above a node which secures the stem in place. All that foliage can get heavy so I double-knot the twine to keep it in place.
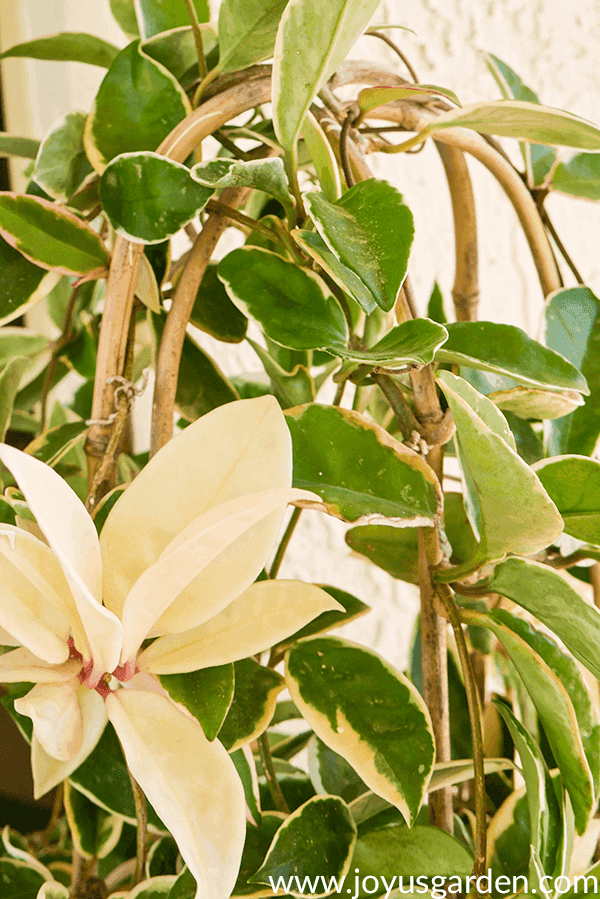
The tops of the 3 hoops were the barest & they’re much more covered up now. Here, I might have to extend the hoops (again!) because this grows like crazy in the Tucson heat. It’s on my covered patio in the bright shade by the way – no direct sun hits this plant.
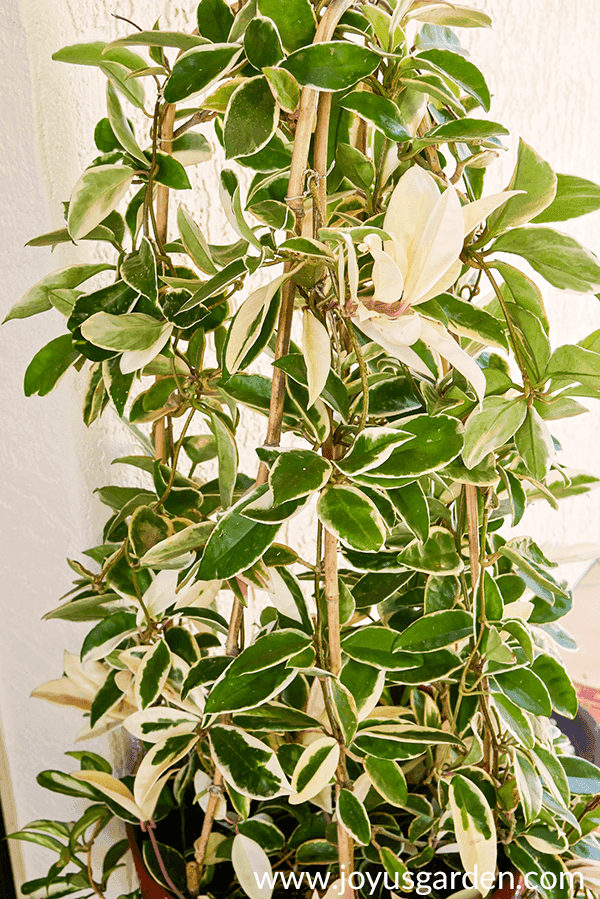
Here’s my pretty hoya all pruned & trained. Everyone who sees this plant gives it a big fat compliment. Don’t you just love the variegation in this plant?? And, the foliage tolerates the desert dryness like a champ!
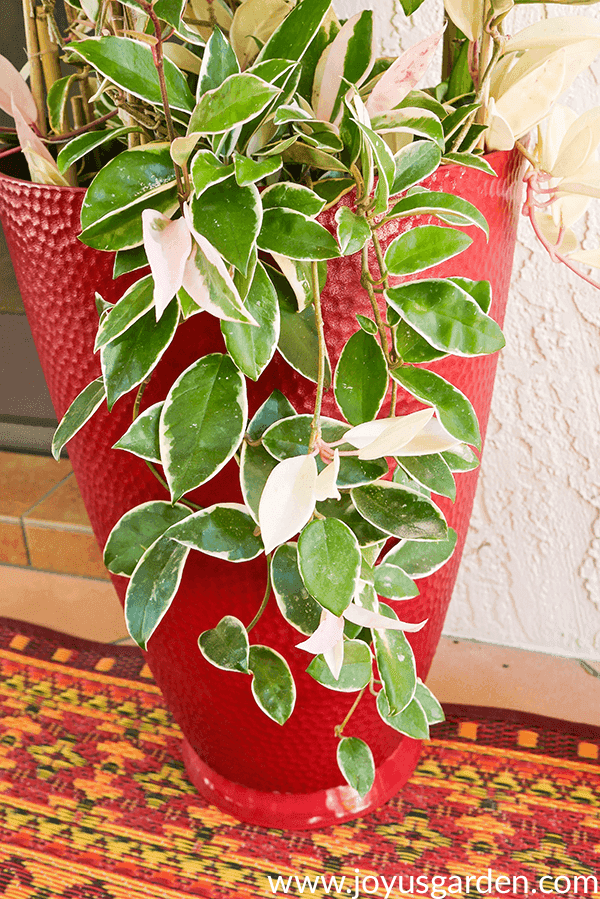
Did you know that this plant grows as a vine in its natural habitats? I love the look of the trails & when it flowers – oh yes! This stunning Hoya plant just keeps growing and growing.


