Your happy aloe has produced babies, which you have removed. Now, what’s next? Here’s how to plant and care for those sweet Aloe vera pups to expand your aloe collection.
Mine have produced many aloe baby plants over the years, most of which I’ve given away. Share the love, I say! It’s one of the easiest plants to maintain (providing enough bright light), and I love how it looks.
MY LATEST VIDEOS
Botanical Name: Aloe barbadensis Common Name: Aloe Vera, Burn Plant
Are you looking for information on Aloe Vera Propagation? The fastest and easiest method is by division. This post covers removing the Aloe Vera pups and all you need to know.
Table of Contents
Preparing Aloe Vera Pups For Planting
When Is The Best Time To Plant Aloe Babies?
The growing season is the best time. In most climates, that’s early spring through summer. Into early fall is fine if you’re in a more temperate climate.
Pot Size
The pot size depends on the size of the pups and how big their root systems are. Whatever size pot you use, make sure it has at least one drainage hole so the excess water can readily flow out.
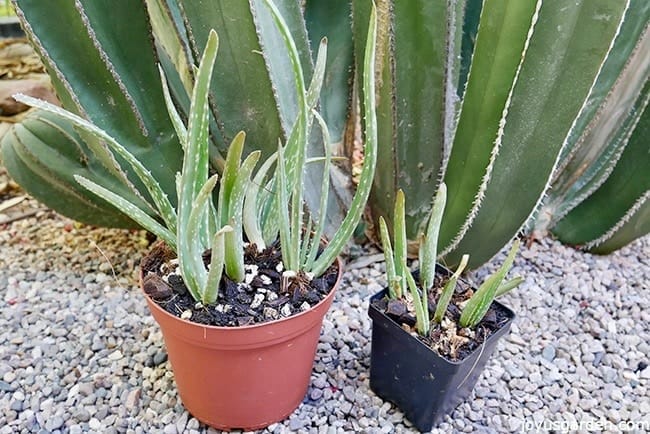
Small pots are good for small pups. For this project, I used a 4″ grow pot for the small pups and a 6″ grow pot for the larger pups.
As root development progresses, you can repot them into a larger pot.
Do you have questions about this plant? We answer questions about Growing Aloe Vera here.
Soil For Aloe Vera Pups
Those fleshy leaves and roots store water. It’s debatable as to what is the optimum succulent soil mix because people have their favorites. You want to use potting soil that yields good drainage and aeration. This will help to prevent root rot.
I’ve used several commercial succulent mixes and a couple from garden centers/nurseries that manufacture their own. I now make my own DIY Succulent and Cactus Mix.
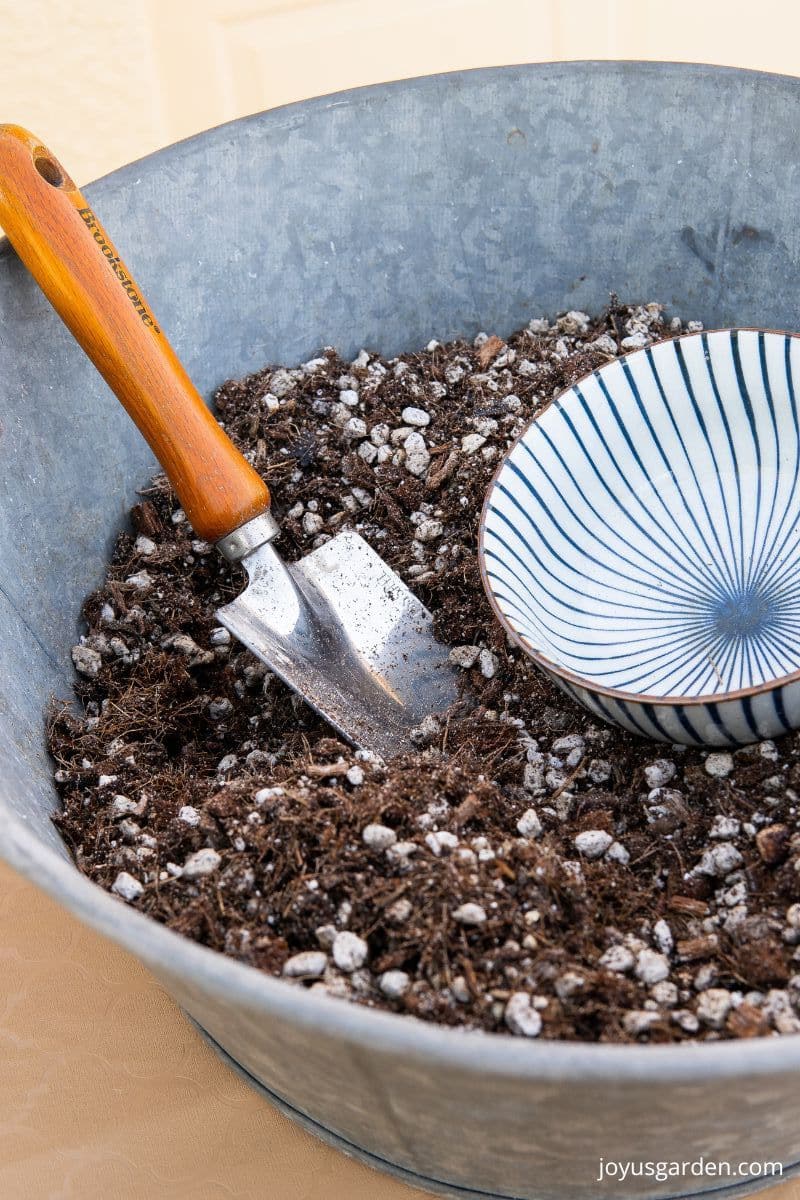
I mix mine in a large tin bowl with handles pictured above that I can easily carry around whether I’m potting indoors or outdoors.
If you’re interested in potting mixes you can buy online, here are some I’ve used: Dr. Earth, EB Stone, Bonsai Jack, and Tanks’. Other popular choices are Superfly Bonsai, Cactus Cult, and Hoffman’s.
Most of these, along with the amendments listed below, can be bought in smaller-sized bags if you’re short on storage space or only have a few succulents. All the succulent mixes I’ve purchased have been good for indoor/outdoor use.
I don’t recommend growing succulents in regular potting soil. It holds too much moisture and, therefore, can stay too wet. I’ve found that some of the commercial succulent mixes can also be too heavy for indoor succulents. You may need to add an amendment or two to lighten the mix.
I’ve used a lot of different amendments over the years. Now pumice (which I find chunkier and less dusty than perlite), clay pebbles, and coco chips are my favorites and the ones I use the most.
Planting Aloe Vera Pups
Like any succulent plant rooting or developing an immature root system, you want the potting mix to be very light so those roots can easily form. Aloe vera pups are planted like an established plant, except for a few slight differences.
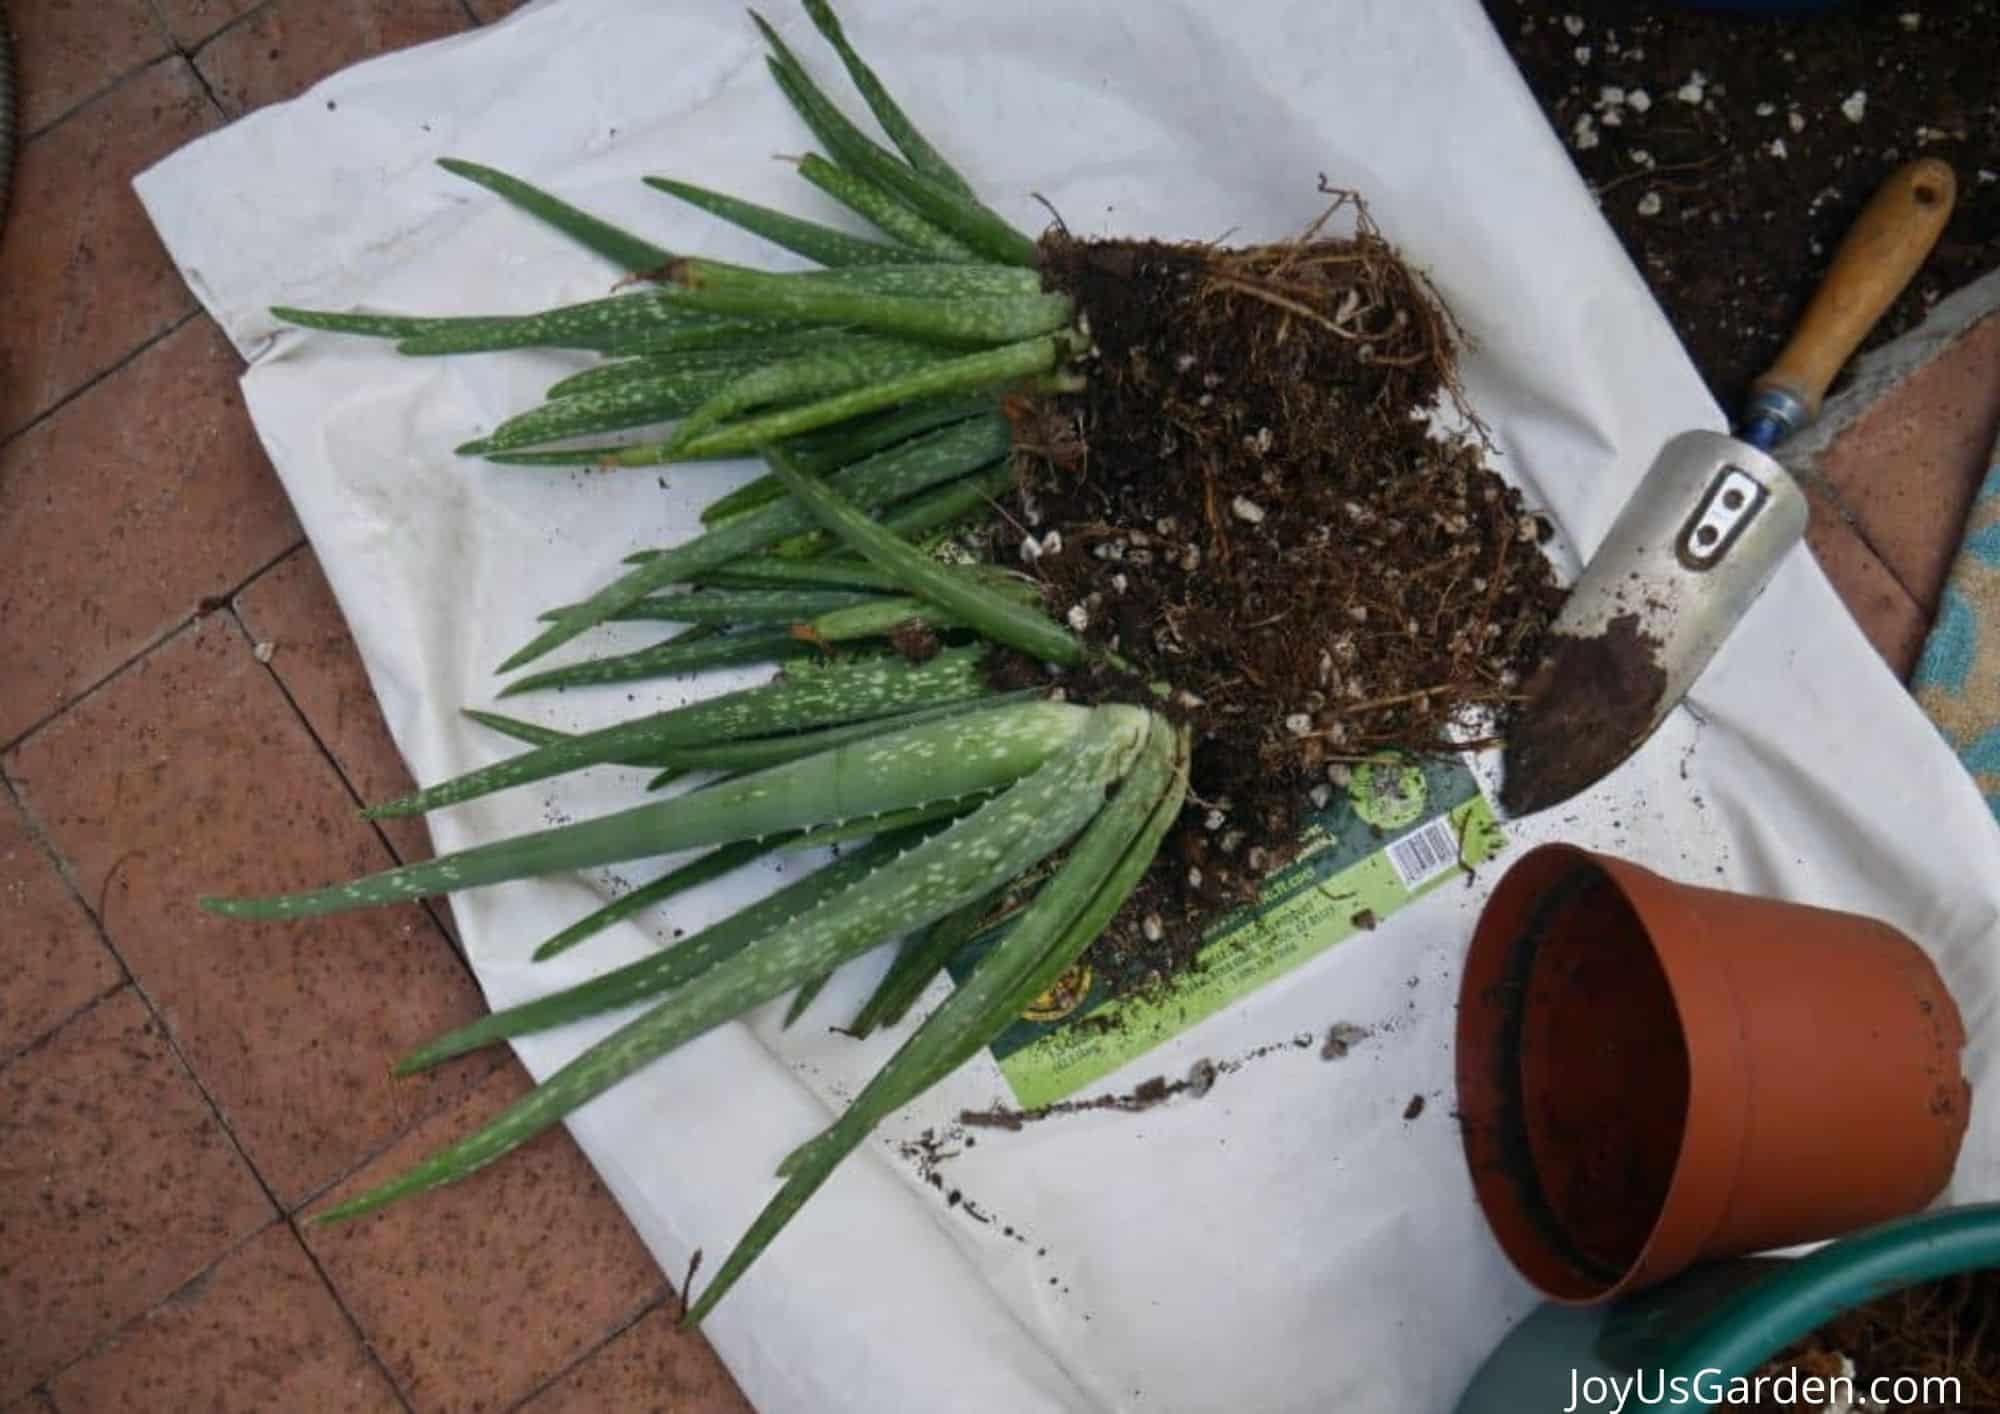
The Aloe Vera plant has a root ball to anchor it down in that light mix, whereas you have to play with the pups a bit to get them to stand up and not completely flop over.
This is necessary, but it’s something I do. With the pups, I sprinkle a thin layer of worm compost on the top, and with the plant, I add both compost and a greater amount of worm compost.
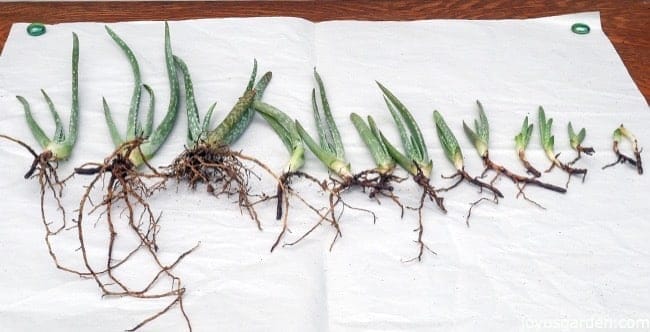
Any pups with roots smaller than the ones on the right, I don’t remove from the base of the mother plant.
Here are five reasons you may be having problems Growing Aloe Vera Indoors.
Steps For Planting Aloe Pups
1.) If needed, separate the new pups by size so they can be planted accordingly. I planted the larger pups in a 6″ pot and the smaller in a 4″ pot. If you prefer to mix them, that’s fine too.
2.) Fill the pots approximately 2/3 full of the succulent mix, more or less depending on how extensive the root systems are.
3.) Arrange the pups in the pot, the largest 1st, and fill in with the mix. Their weight wanted to send them toppling, so I held them all up in the middle and pressed the mix down around the cuttings (don’t worry, the mix is light and won’t hamper the rooting in the process) to get them to stand up. The roots should be even with the top of the soil line – you don’t want to sink them too far down.
4.) Sprinkle a light layer, maybe 1/8″, of worm compost on top around all the pups. (this is optional)
You might want to check out this Aloe Vera 101. It contains a round-up of our Aloe Vera care guides covering aspects of this useful plant.
Aloe Vera Pups Care
Aloe Pups Indoors
Put your baby aloes out of any hot, direct sun but in a bright location. Let them settle in for a couple of days before watering thoroughly. You want the water to drain out of the bottom of the pot.
I water newly planted pups more often than an established plant. Depending on how warm your house is and the size of the pot, water every 5-10 days. After they feel firmly rooted in water every 10-14 days.
And remember, smaller pots dry out faster than larger pots.
Aloe Pups Outdoors
I put my baby aloe plants in the bright shade and indirect light in the side garden. It’s hot and sunny here in Tucson, so I don’t want those little plants to get any direct sun. I let them settle in for almost two days before giving them a thorough watering.
I water them twice a week when it’s hot. Once the cooler weather sets in, I’ll back the watering off to every 7-14 days.
Aloe Vera Pups Video Guide
Good to know:
Although Aloe vera pups root quickly, you want to water them more often than an established aloe plant. You can back off on the watering frequency as they get fully rooted.
In winter, as with any indoor plants, water less often. It’s better to keep them on the dry side at this time of year.
Keep your baby aloe plants out of the direct sun. They’ll burn if in a west or south window.
Interested in more on Aloe vera leaves? Check out this guide on How To Use & Store Aloe Vera Leaves.
Aloe Vera Baby Plants FAQs
Hopefully, these simple tips will get you started on growing healthy and happy aloes. You’ll have plenty of new Aloe Vera plants for yourself and to share!

