The holiday season is almost here – how can that be?! If you’re like me, I’m sure you’re galloping off to the craft store like Santa’s reindeer. We return home to our work tables, to get busy just like Santa’s elves. Christmas puns aside, it’s time to get our Christmas decorating groove on. I’ve used pine cones for decorating ever since I was knee-high to a grasshopper. I’ve learned 4 different ways to glitter pinecones, which I’ll share with you here.
I highly recommend that you click through on each link, so you can see the instructions for each of the DIYS in more detail. Each has a video to guide you. You’ll also find links in each post so that you can buy all the materials used online. Be sure to scroll all the way to the end to see 3 holiday table decorations I created using these glittered cones.
MY LATEST VIDEO
Gold Gilded Pine Cones Glittered 4 Ways
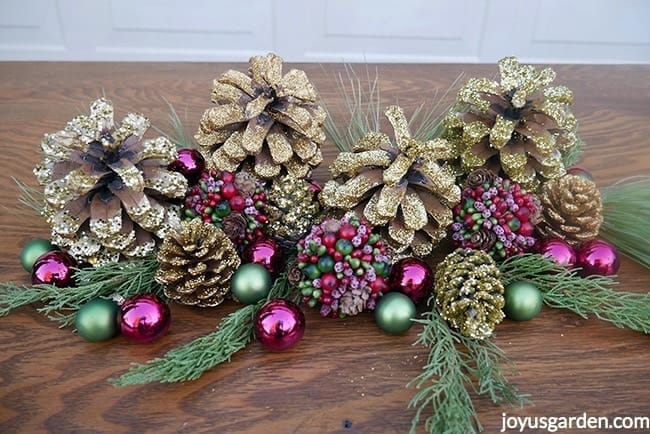
Gold gilded pine cones are so versatile – especially if they’re dusted with 4 different kinds of gold glitter.
Materials
- Pinecones. I foraged mine here in AZ & also in CA but you can find them in craft stores & also online.
- Gold paint
- Small bowl
- School glue
- Paintbrushes
- Different glitters. I’ve had mine for so long that I don’t know if they’re on the market anymore. But here are a few that are similar to what I used: soft gold glitter, vintage golden glitter , extra fine gold glitter, super chunky gold glitter. Another option: rose gold glitter.
- Something to glitter onto: cutting board, Kraft paper, etc.
Before you even get started on this DIY, make sure that the pine cones are clean of dirt, dust or debris. If you’ve forged your pine cones they might have bugs and eggs living inside them. To get rid of bugs & eggs you can place the cones in the oven for an hour or two at 175 degrees. Don’t wander off from home though because you don’t want any sap to flame up!
Sparkling Decorations: How I Lighten and Glitter Pine Cones
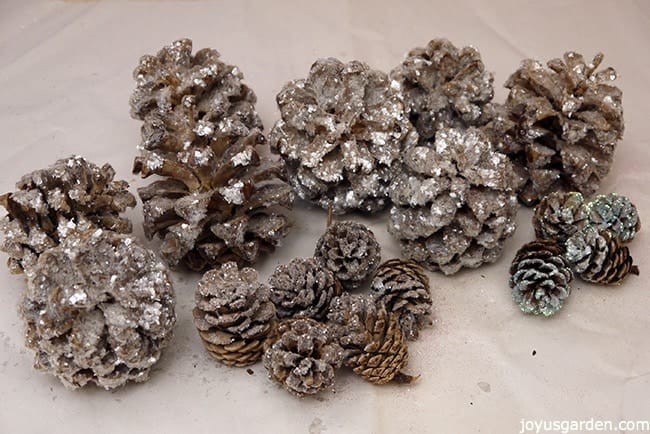
These pine cones were a bit too dark for the look I’m going for so I wanted to lighten and glitter them to bring on the sparkle.
Materials
- Pine Cones—For this one, I used 2 sizes.
- Glitter—I used 3 types of clear glitters: mica flake, crystal and iridescent.
- School glue
- Paintbrush
- Tray, saucer or dish to hold the glue mixture
- Bleach
- Pail
Shimmery, Glittery Silver Pine Cone DIY
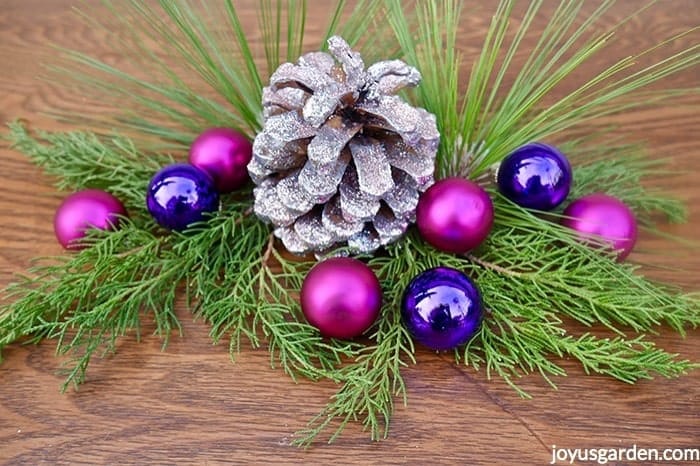
Silver really picks up and reflects light. It combines beautifully with white, jewel tones, & fits wonderfully into a wintery theme. It’s a beautiful companion to gold.
Materials
- Pine cones. I foraged mine here in AZ & also in CA but you can find them in craft stores & also online.
- Silver metallic paint. I used this one but Modern Masters is my fav.
- Glitter. I’ve had mine for ages but you can find silver glitters similar to the three I used here, here & here.
- School Glue. This is also called white glue & it’s great to use because it dries clear. I’m currently using a dollar store brand but Elmer’s is a brand you might know.
- Paintbrushes. What size you use depends on the size cones you’re painting & how fast you want this DIY to go. I used a 1″ house painting brush & a much smaller one for fine art.
- Small bowl. This is needed to mix the paint & glue. I used a plastic plant saucer but use whatever you have on hand. Save it for future crafting projects.
- Something to glitter onto. I used a flexible cutting board. When I owned a commercial Christmas decorating business, large trays & plastic bowls did the trick. Kraft paper would be fine too.
A Snowy, Glittery Pine Cone DIY In 3 Easy Steps
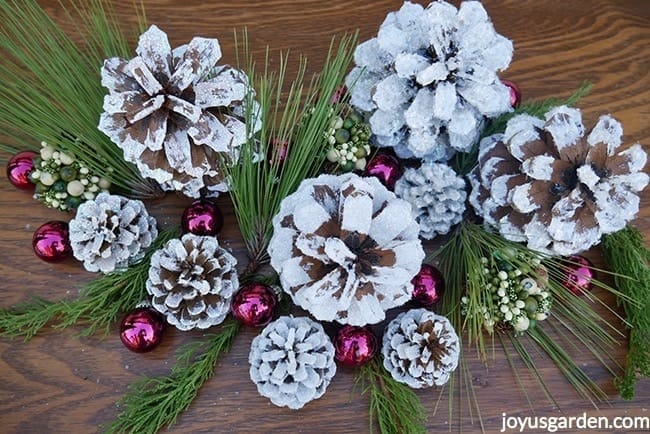
White pine cones are great to use for Christmas decorating when you really want that winter wonderland vibe.
Materials
- White paint: I used a flat latex interior one which was left by the previous owner. It’s a great way to reuse any leftover latex house paint, interior or exterior. This acrylic paint would work just fine too.
- Glitter: I used vintage mica flakes, crystalline & crystal.
School glue. This is also called white glue & it’s great to use because it dries clear. I’m currently using a dollar store brand but Elmer’s is a brand you might know. - Paintbrushes: What size you use depends on the size cones you’re painting & how fast you want this DIY to go. I used a 1″ house painting brush & a much smaller one for fine art.
- Small bowl: This is needed to mix the paint & glue. I used a plastic plant saucer but use whatever you have on hand. Save it for future crafting projects.
- Something to glitter onto: I used a flexible cutting board. When I owned a commercial Christmas decorating business, large trays & plastic bowls did the trick. Kraft paper would be fine too.
- Pinecones. I foraged mine here in AZ & also in CA but you can find them in craft stores & also online.
Below, we’ve included a few DIY projects that include some of these glittered pinecones. Enjoy!
Homemade Christmas Decorations Using Citrus Fruits and Spices
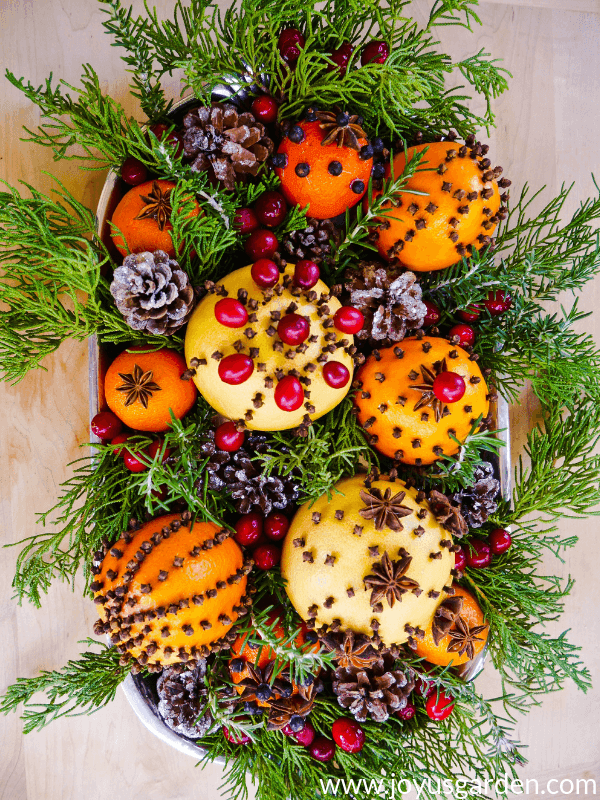
If you want an easy idea for homemade natural Christmas decorations (which also smells good!), look no further. All you need to do is gather some citrus fruits and whole spices and you’ll be well on your way to a festive table or mantle decor.
Materials
- Citrus fruits: I used naval oranges, pink grapefruits & cutie clementines.
- Spices: Whole cloves, star anise & juniper berries.
- Fresh cranberries
- Manicure scissors
- Soft pencil
- Hot glue
Last Minute Holiday Centerpieces
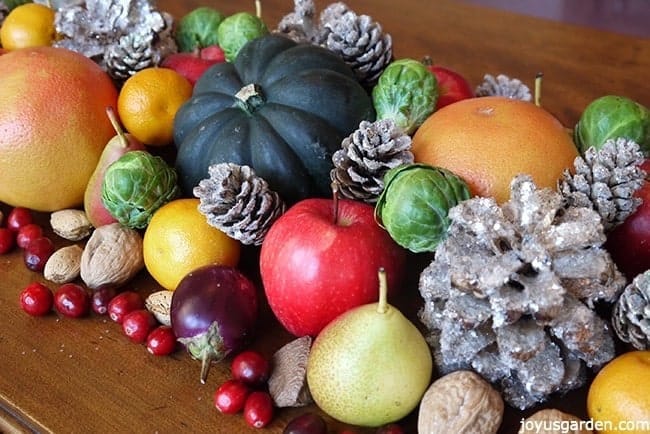
I love decorating my own table with simple homemade elements, & if the ingredients come from nature, even better.
Materials
- Acorn squash
- Pink grapefruit
- Mandarin cuties
- Forelle pears
- Gala apples
- Indian eggplant
- Brussels sprouts
- Cranberries
- Mixed nuts: walnuts, filberts, almonds & Brazil nuts
- Glittered pinecones, of course!
White Blooming Plants For Christmas
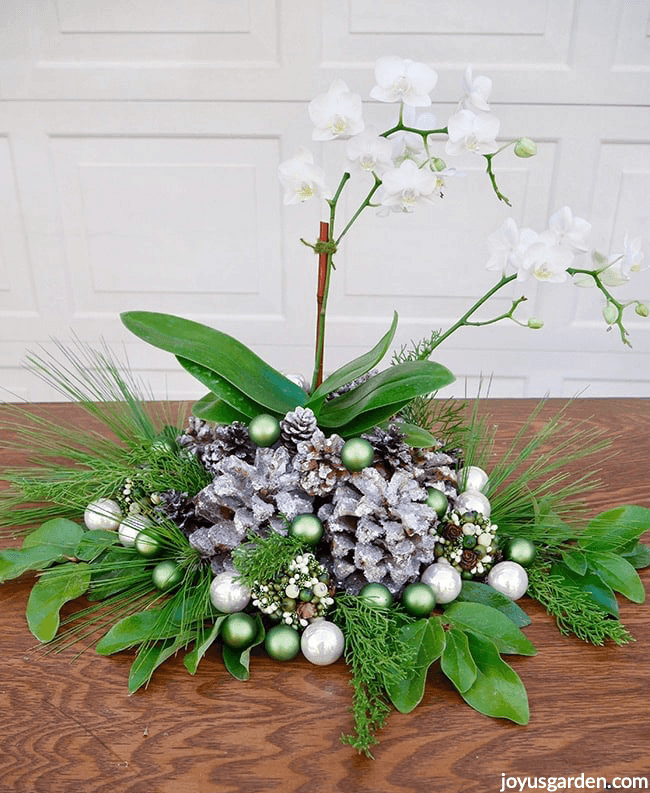
Finally, we shared a list of a few white holiday plants that you can use for table decorations. At the end, you’ll find a DIY on this orchid & pinecone table decoration. All-natural and simply gorgeous!
DIY projects are really fun and rewarding, especially during the holiday season. We hope that you’ll find some of these projects useful and give them a try. All of the pinecones will last a long time so you can certainly reuse them year after year.
Wishing you all a festive and joyful holiday season!


