Aloe vera is a plant I love and have always grown in pots, both in the house and in the garden. It’s a plant that does great in containers in a grow pot or directly planted in.
MY LATEST VIDEOS
An important thing to know about planting Aloe Vera (Aloe barbadensis, Medicinal Aloe) has to do with its makeup. This plant is a succulent which means it stores water in its large fleshy leaves (we want all the gel we can get!) and thick, fibrous roots.
It can rot out very easily and quickly when overwatered and/or when the soil mix is too heavy and doesn’t readily drain.
Note: This post was published on 11/6/2018. It was updated on 12/2/2022 with more information & a few new images.
More Helpful Aloe Vera Guides: How to Care for Aloe Vera, Aloe Vera FAQs, Growing Aloe Vera Indoors, 7 Ways to Use Aloe Vera Leaves, How To Remove Aloe Vera Pups, How To Plant Aloe Vera Pups
Table of Contents
Planting Aloe Vera In Pots
Note: The info below applies to planting Aloe vera in pots whether growing outdoors year-round or as houseplants, except where noted.
Best Time to Plant, Transplant, or Repot Aloe
The best time to plant aloe is spring and summer. Early fall is fine if you’re in a temperate climate like me.
I planted the pot you see here in October. The daytime temps were still in the 80s in Tucson and don’t dip too low in the nighttime until mid-December.
Give your Aloe vera at least a month or so to settle in before the nights cool. Late fall or winter isn’t ideal because your plant will be “resting” during these times.
If you live in a climate with cold winters, having your Aloe in a pot makes it easy for you to bring it inside in the winter months and back outside in the summer.
Types Of Pots for Aloe Vera Plants
Aloe vera is a versatile plant when it comes to pot preference. I’ve seen it planted in many different types of pots. Pot type doesn’t matter as much as having well-drained soil.
I love the look of aloe in a clay or terra cotta pot. It does well when directly planted in. Unglazed terra cotta and clay are best because they’re more porous and allow for those big, thick roots to get more airflow.
Ceramic pots are beautiful also and come in a wide range of styles, colors, and patterns.
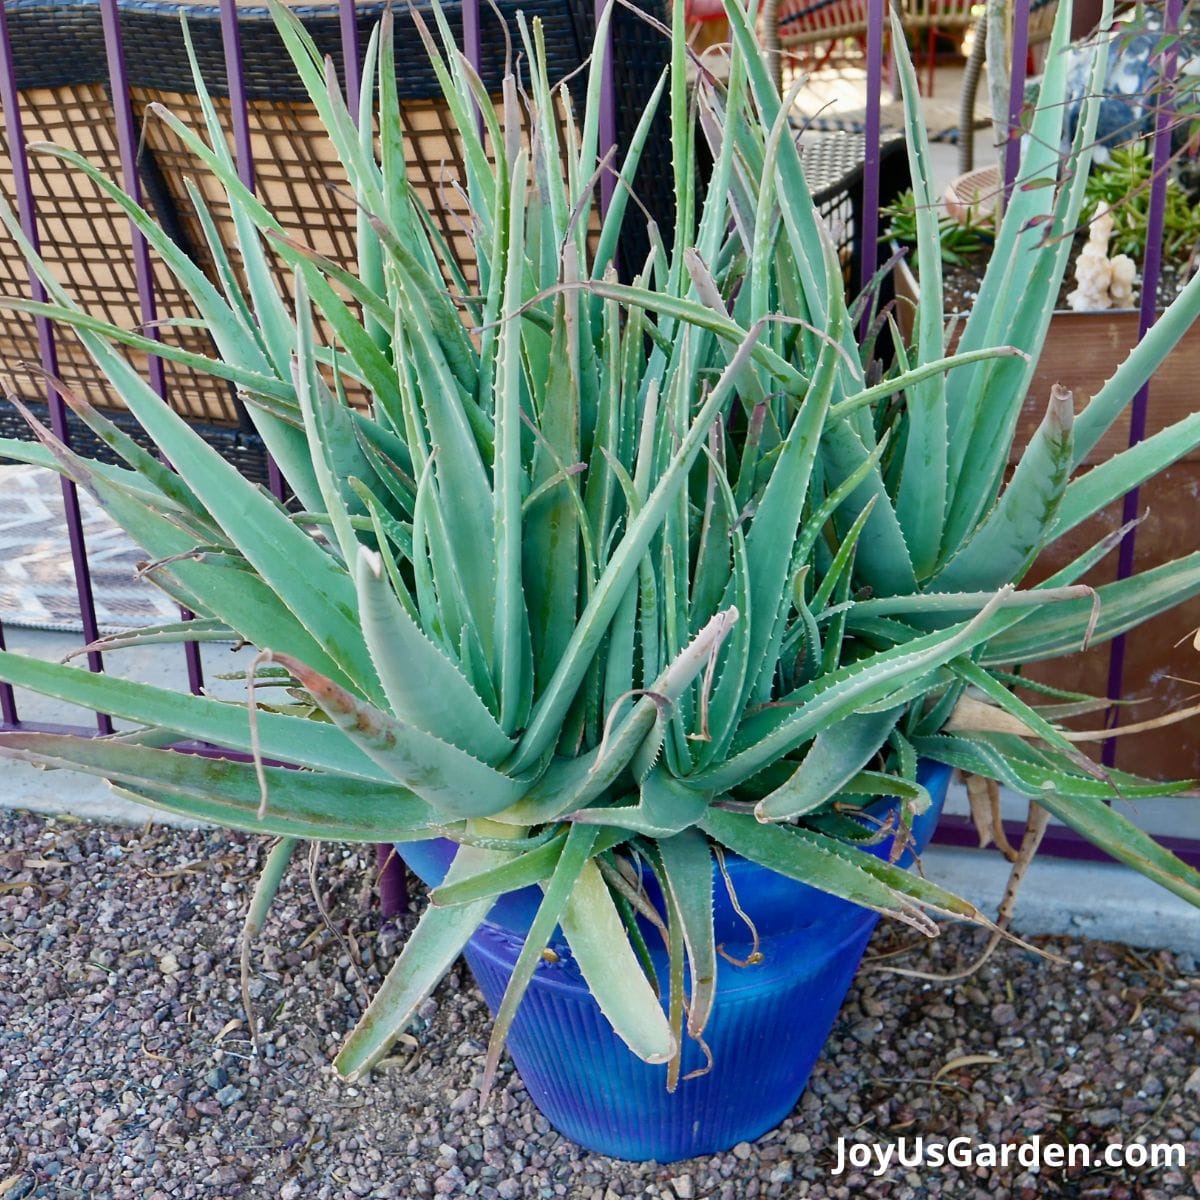
I planted the Aloe vera plants you see here into a heavy-duty plastic pot and they did just fine. I’m updating this post 4 years later and the pups have produced pups, and all have grown like crazy!
Because aloe likes dry conditions, it’s best to have drainage holes at the bottom of the pot so the excess water doesn’t build up and can freely drain out.
Pot Size for Aloe Vera Plants
Aloe vera, in the houseplant trade, is generally sold in 4″ and 6″ pots. Here in Tucson and in Santa Barbara where I used to live it’s also sold in 1-gallon and 5-gallon pots in the landscape trade.
Use your judgment here. If your 4″ Aloe vera has gotten way out of scale with its pot, moving it into an 8″ pot would be a good idea. If you’ve bought a 5-gallon Aloe, then a 20″ pot would be fine.
As you can see, I planted 3 good-sized pups and the mother plant into 1 large pot (18″ diameter). I’m going to move the plant into a 22″ pot in next spring. I’ll divide the plant and take off quite a few of the pups to give the plant more room to grow.
If you’re making a big jump in pot size, then it’s especially important to get the soil mix right.
Soil Mix For Planting Aloe Vera In Pots
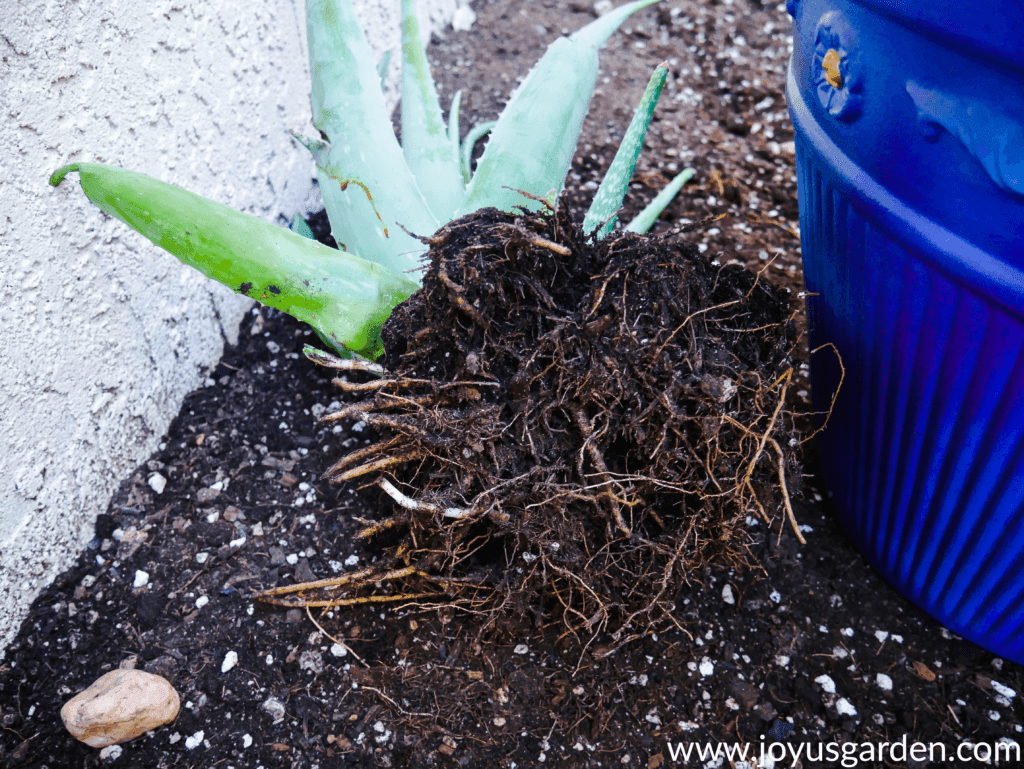
The soil mix needs to provide good drainage and aeration. A lighter mix won’t hold too much water and allows the excess to drain out. This greatly lessens the chance of the soil staying too wet which eventually leads to root rot.
I was using a locally produced organic succulent and cactus mix available in the Tucson area. It’s very chunky, drains well, and is comprised of pumice, coconut coir chips, and compost.
I also added in a few generous handfuls of compost when planting and topped the pot with 1/8″ of worm compost. The application would have been heavier but it was late in the year. I topped it with more worm compost and compost when early spring rolled around.
As I’m updating this post 4 years later, I now make my own succulent and cactus potting mix. This succulent and cactus mix recipe isn’t mine – I’m not a soil guru! The folks at Eco Gro shared it with me via its creator Mark Dimmitt. It’s comprised of coco chips, coconut coir (a more eco-friendly substitute for peat moss), pumice, vermiculite, agricultural lime, and elemite.
I use this DIY mix for all my succulent and cactus container plantings both indoors and outdoors.
I recommend that you use a straight succulent and cactus mix or 1/2 succulent and cactus and 1/2 potting soil.
For an Aloe vera houseplant, you can also use regular potting soil but perlite or pumice must be added in to aerate and amend the drainage. When using a potting soil blend, back off on the watering frequency because it’s most likely a heavier mix.
Succulent and cactus mixes really vary depending on the brand. Some are heavier than others.
If you think your mix needs the drainage and lightness factors elevated, then, by all means, add pumice, perlite, or lava rock.
You don’t need to add compost or worm compost to your potting mix but it’s how I feed all my container plants, both inside and out. You can read about it here.
Did you know succulents in pots do best in special soil? Here’s the succulent soil mix I use.
Where to Purchase Succulent Mix & Amendments
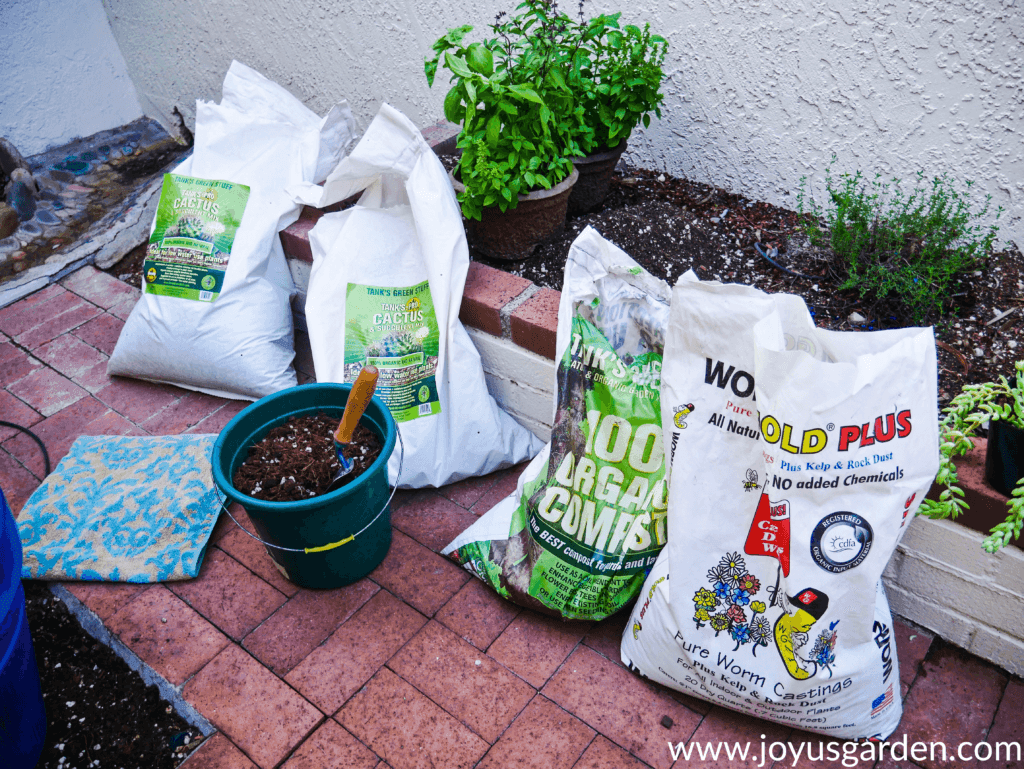
We have many nurseries and garden centers here in Tucson that sell succulent and cactus mix as well as amendments. In case you don’t have any nearby, I’m including these online options.
Mixes
Brands I’ve used include Dr. Earth, EB Stone, Bonsai Jack( this 1 is very gritty; great for those prone to overwatering!), and Tanks’. Other popular choices are Superfly Bonsai (another fast draining 1 like Bonsai Jack great for indoor succulents), Cactus Cult, and Hoffman’s (this is more cost-effective if you have larger containers but you might have to add pumice or perlite).
Most of these mixes and amendments can be bought in smaller-sized bags if you’re short on storage space or only have a few succulents. All the succulent mixes I’ve purchased have been good for indoor/outdoor use.
Amendments
To lighten a mix: Options include Pumice, Perlite, and Lava rock.
As nourishment: Worm compost and Compost.
How Often to Repot Aloe Vera
Aloe vera has strong roots and grows fast when the conditions are to its liking. That being said, it does best growing a bit snug in its pot so don’t be in a hurry to move it to a larger pot.
If your plant is small and not growing too much, then leave it in that small pot for a while.
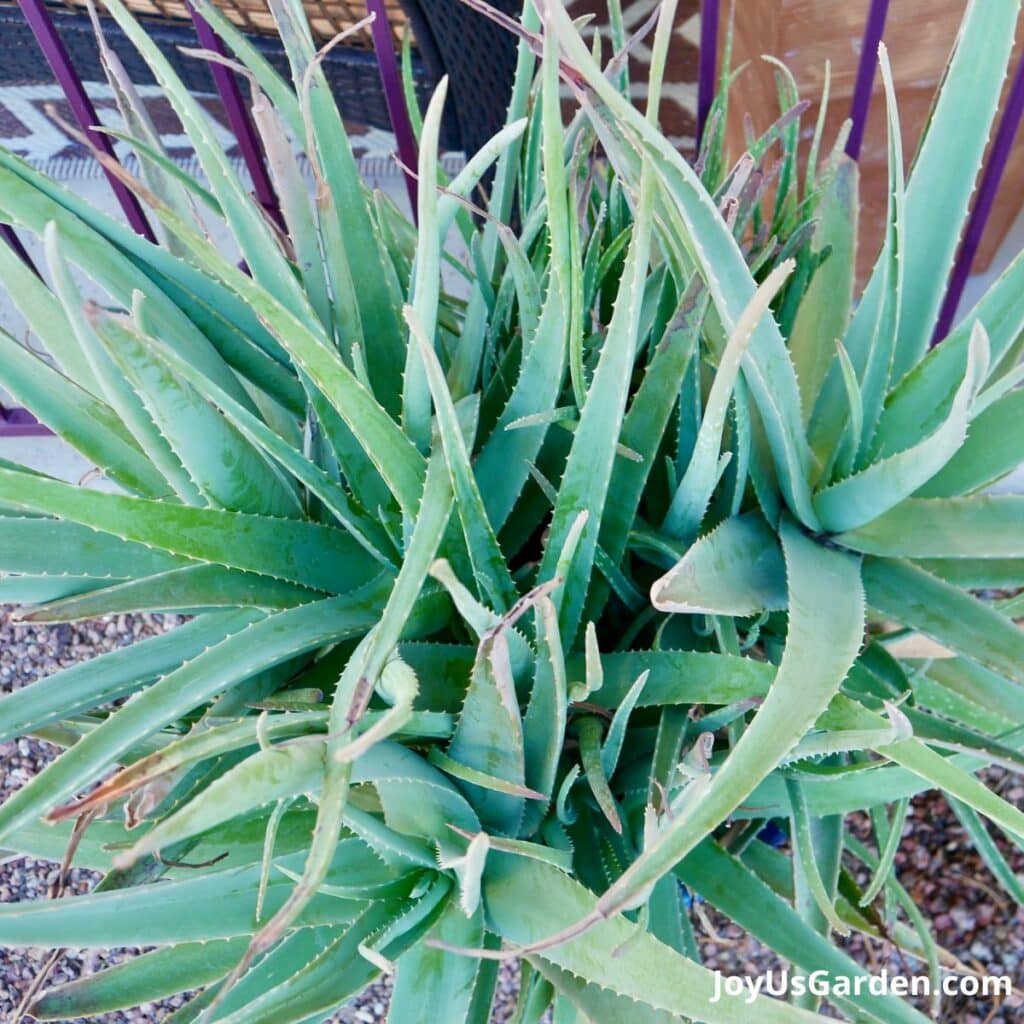
Aloe vera spreads as much as it grows upwards. The aloe that you see here is now 2.5′ tall by 4′ wide 4 years later (see photo above and at the top). It would spread more but the diameter of the pot is restricting that. I’m going to repot it next spring into fresh soil mix and a wider pot.
Aloe vera gets very heavy as it grows. You’ll have to move it into a larger pot to provide more of a substantial base at some point.
As a very general rule, every 4-5 years is fine.
How to Split Aloe Vera
The pups grow attached to the base of the mother plant. If the baby plants are small enough, you should be able to gently separate them with your hands.
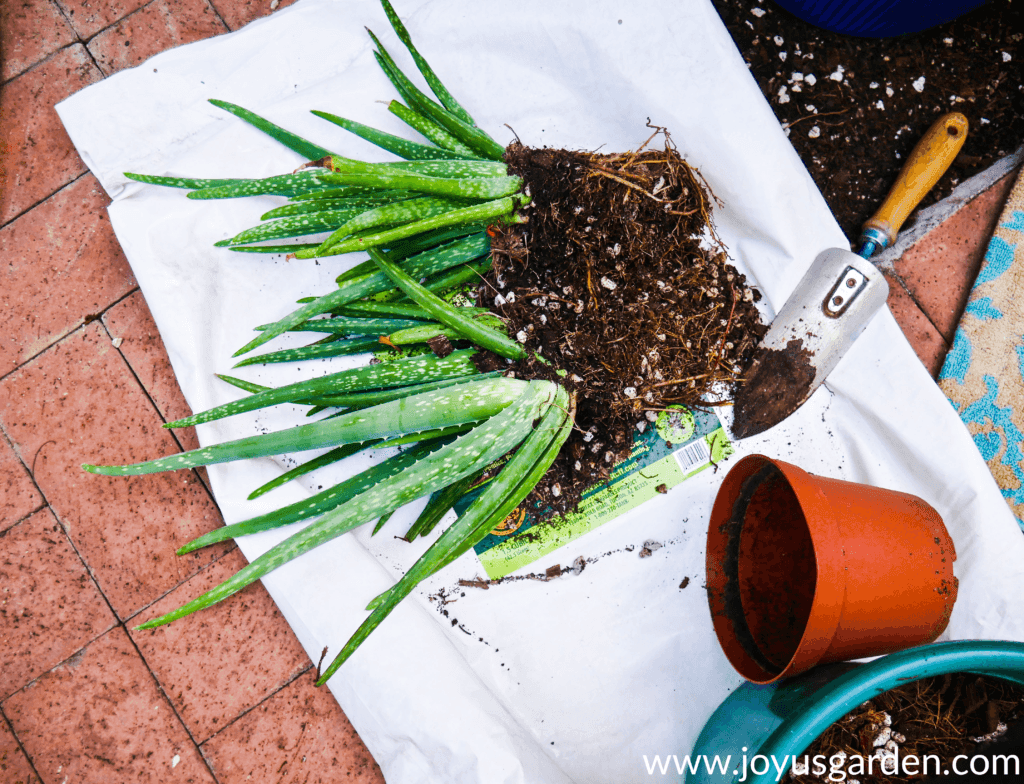
I used the trowel to split the pups I was planting. You can see me doing this in the video below. I could have used a very sharp knife instead but the trowel worked just fine this time.
For a larger aloe plant with a tight, tough root ball I’ve used my pruning saw and also a trenching shovel.
You might lose a leaf or two in the process and it might not divide as evenly as you’d like but don’t worry. Aloe vera has thick roots and is one tough cookie!
Here’s More On Aloe Vera Pups: How To Remove Aloe Vera Pups From the Mother Plant, Aloe Vera Pups: Care and Planting Tips
How to Plant Your Aloe Vera
For this, it’s best to watch the video below. Smaller Aloe vera plants will be much easier to plant/repot/transplant than the planting I did here.
In a nutshell:
Water your Aloe 5-7 days before planting. You don’t want it to be bone dry, but not soaking wet either.
Gather your materials.
Remove the plant from the pot. You may be able to do this simply by pressing on the pot or you may need to run a knife around the perimeter of the pot to get the root ball out. If it’s really stuck and as a last resort, you may need to break or cut the pot.
Gently massage the roots to loosen them. This gives them a head start on spreading in the new pot and soil mix.
Eyeball or measure (I do this with my hand or arm) how much of the mix you need to put in the pot. I raise the rootball up 1/2″-1″ above the top of the pot because the weight of the plant will eventually sink it down a bit.
Put the mix in the bottom of the pot.
Place the plant in the pot. Adjust the level of the soil if necessary.
Fill in around the rootball with mix. I add in small amounts of worm compost and compost as I plant and also as topdressing (optional).
Aloe Vera Planting in Pots Video Guide
How To Care For Aloe Vera After Planting
I put the pot in bright indirect light outdoors so the plants were set to root in. You’ll want to put yours in a similar situation so the roots can anchor in without the stress of any hot sun.
If your repotted Aloe vera is a houseplant, put it in a spot with bright light but no direct no sun.
I watered my Aloe planting after a week or so. The temps are cooler here in the Arizona desert these days but if it was summer, I would have watered it after 4-5 days.
For a houseplant growing in average temps, I’d wait a week or so. Then, water your Aloe vera thoroughly and let it dry out before watering again.
Related: Answering Your Questions about Aloe Vera
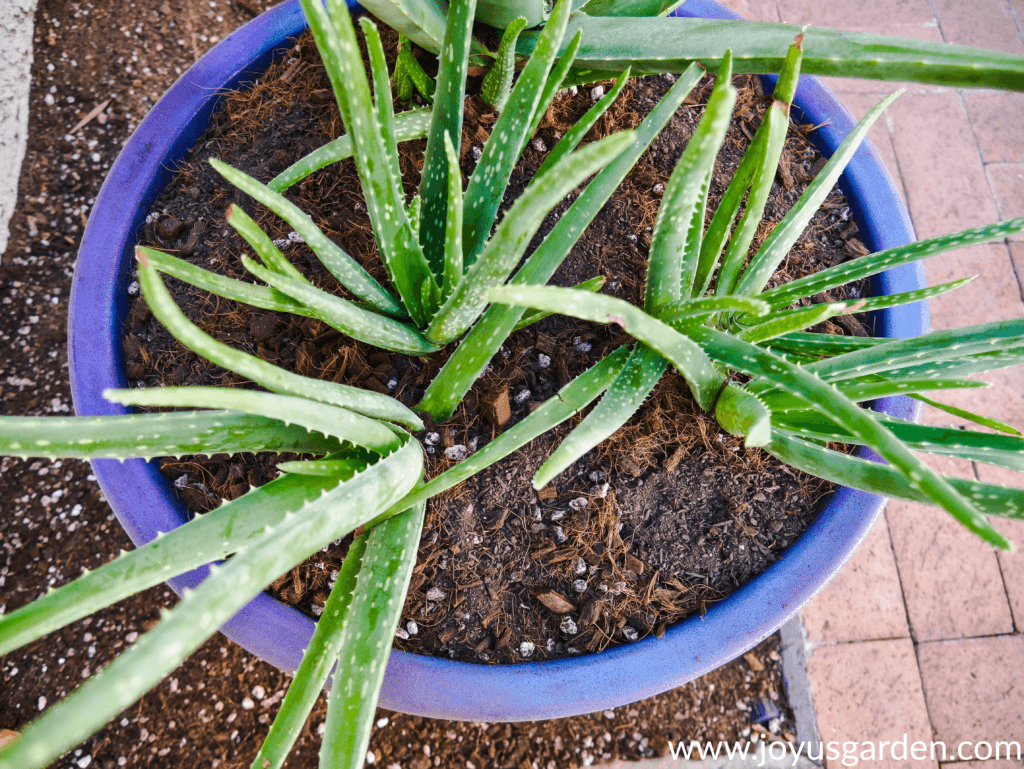
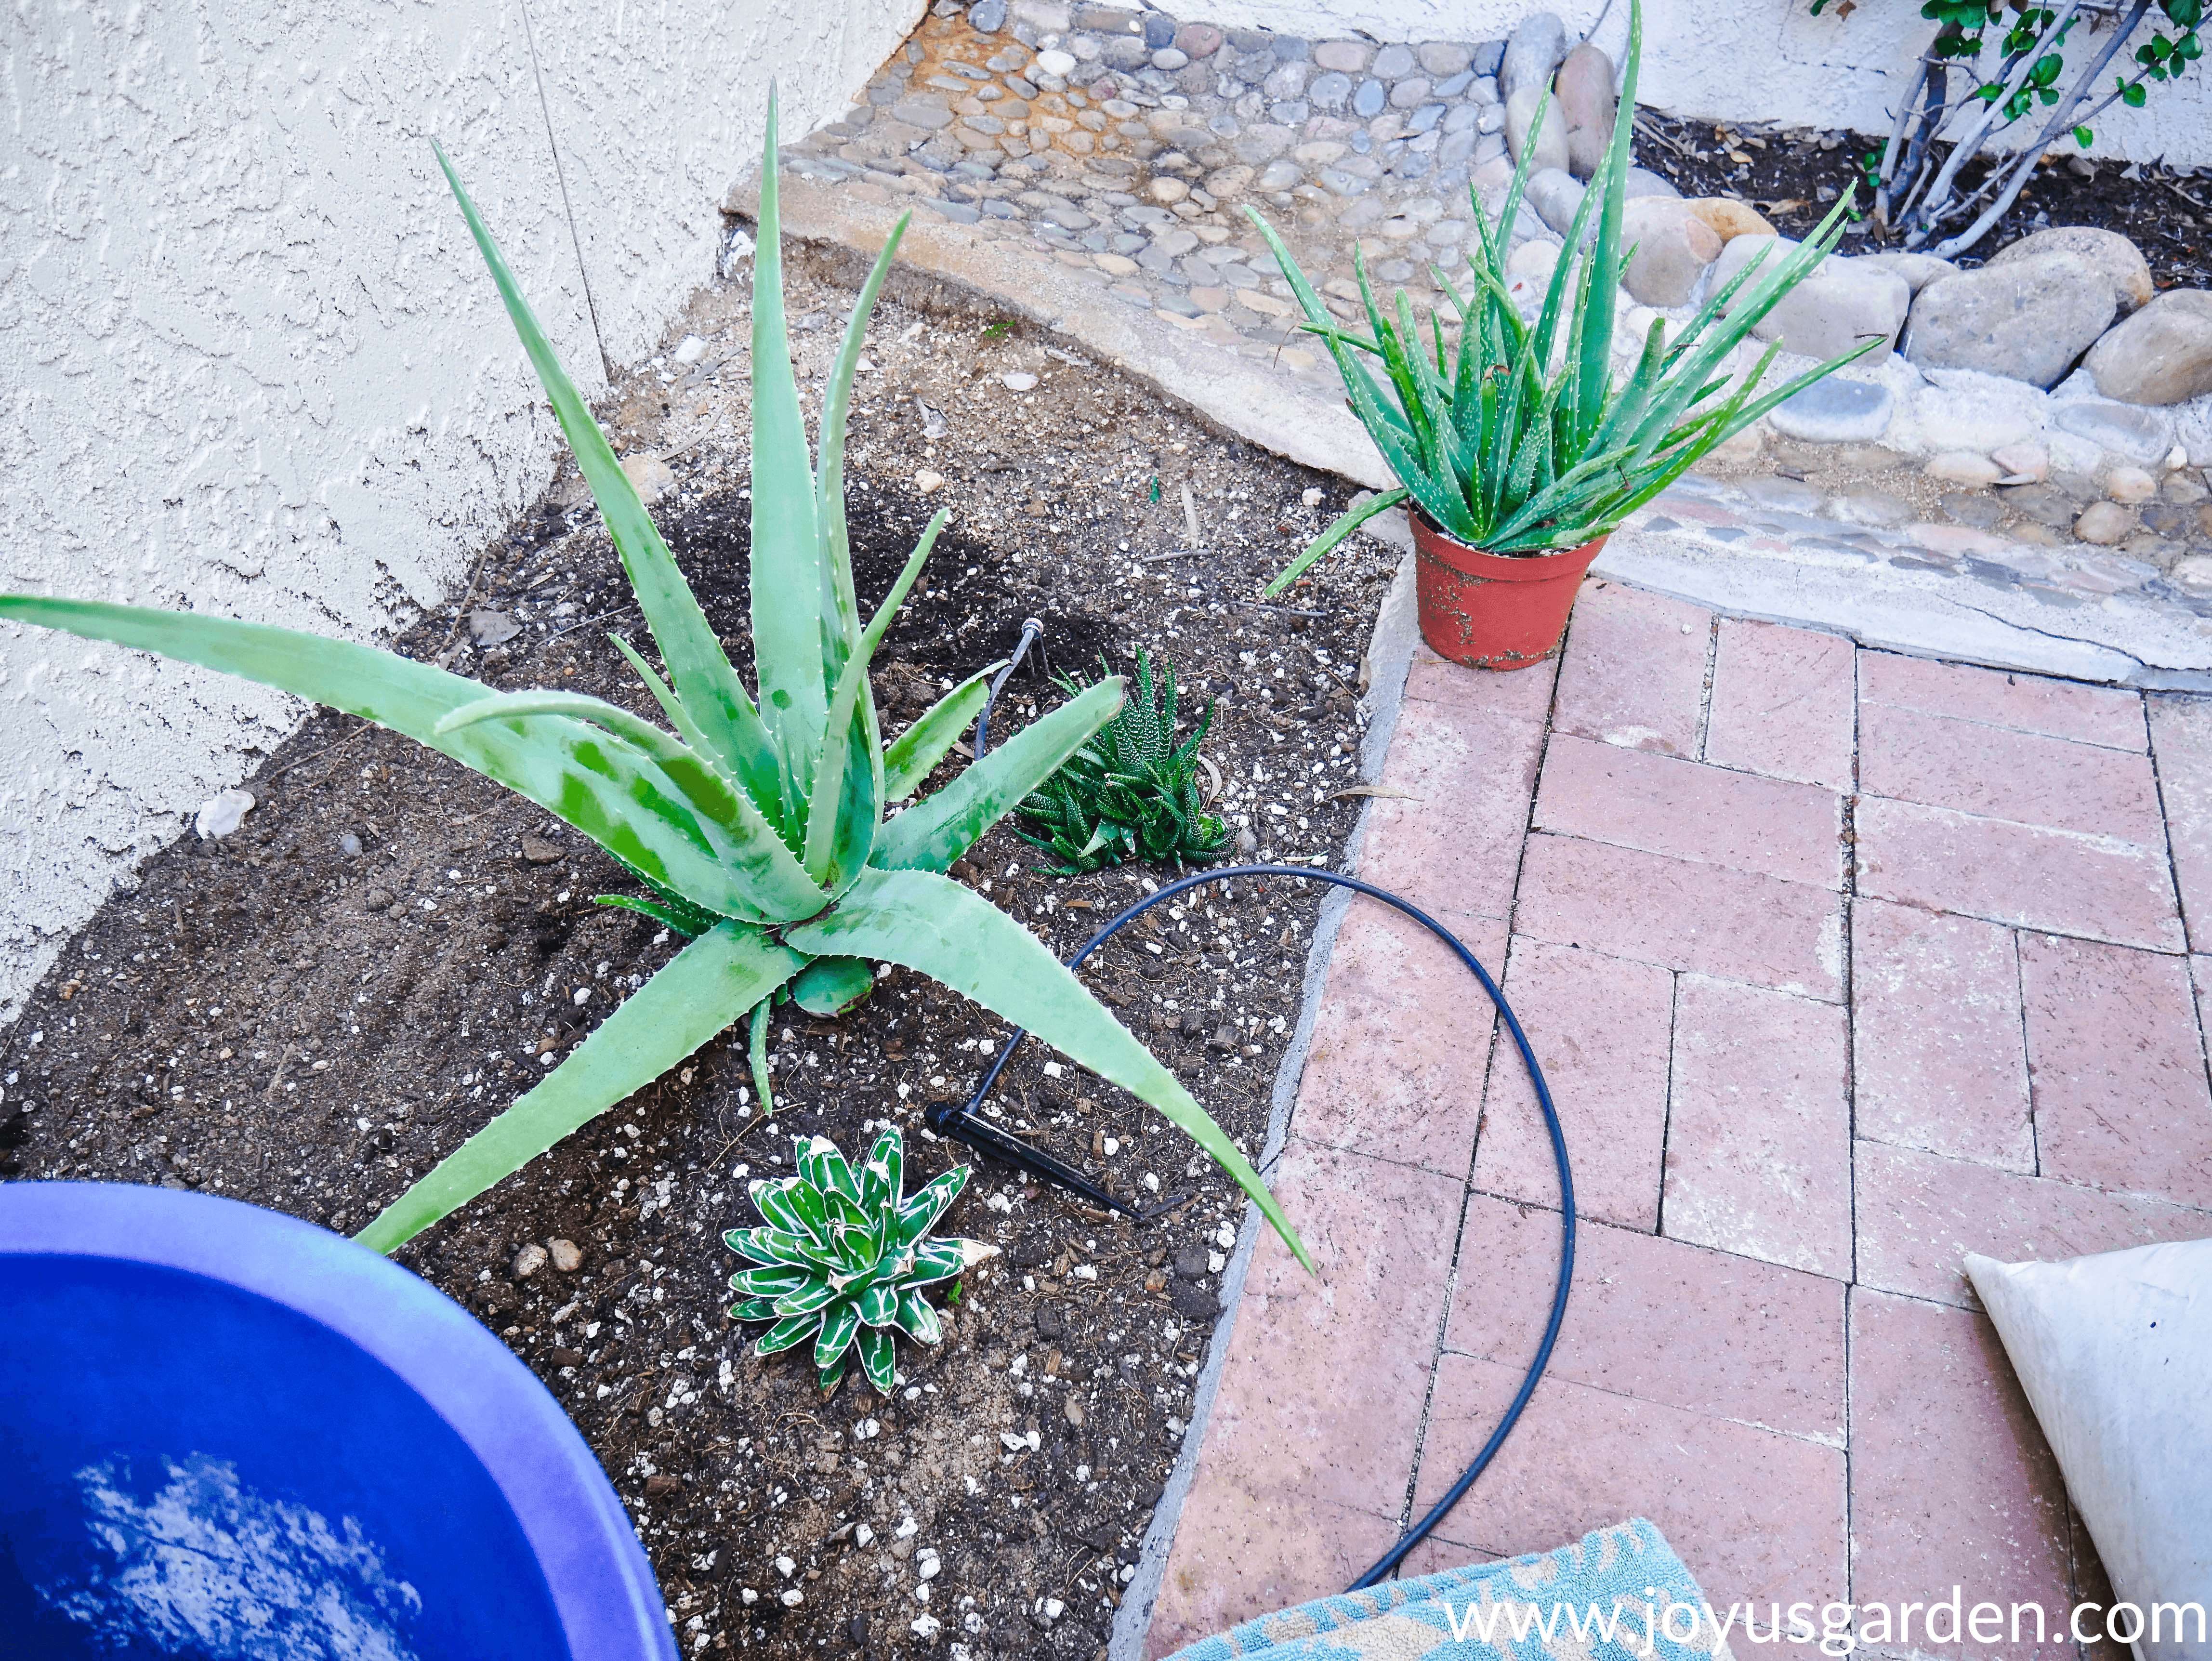
This has nothing to do with planting Aloe vera in pots but I want to share it here because I’ve gotten some questions. You might notice that the mother plant has solid green leaves whereas the pups’ are spotted. That’s an age thing – the pups will eventually lose most or all of their spots as time goes on.
Good To Know About Planting Aloe Vera
Larger Aloe vera plants can be quite heavy. I had to stake mine up for a couple of weeks while it was rooting in to keep it from toppling over and you might have to also.
On the topic of how heavy this plant is, I usually plant it up about 1″ above the soil line. The weight of the plant will eventually sink it down a bit in the light mix.
Go up at least a pot size or 2, from 4″ to 6″ or 8″ to 12″. Aloe vera has a strong root system and produces a lot of pups when it’s happy and healthy and needs room to spread in the new pot.
The bigger the pot of a newly planted Aloe, the larger the soil mass. Be careful not to water too frequently because they don’t like to have their soil kept too wet.
I’ve found that Aloe vera isn’t fussy as to pot size or pot material. As you see, I planted these 3 Aloe vera plants in a large pot. They had plenty of room to spread, and they did.
As to material, mine are in a plastic pot but ceramic, terra cotta, clay, and resin work fine too. Two advantages to terra cotta and clay are that aloe looks great in it and the porosity (if unglazed) helps the roots to breathe a bit more and also get rid of minerals in the soil or water.
This succulent plant doesn’t root as deep as it spreads. Mature plants have quite the robust root system!
As Aloe vera pups are produced they grow and spread. The plants and new roots will need width to expand.
By the way, if your Aloe vera is growing as an indoor plant, it probably won’t produce babies as readily or abundantly as mine that grows outdoors.


