I love ZZ Plants because they’re tough as nails, a snap to maintain and as handsome as can be. That glossy foliage steals my heart. Mine, which moved with me from California to Arizona last year, was starting to overtake its spot in the kitchen. Let’s just say that it’s enjoying the desert heat to the max – it’s growing like crazy! Dividing it seemed to be a logical solution and is one way of propagating a ZZ Plant.
MY LATEST VIDEO
In late winter/early spring, my ZZ Plant started putting new growth in a big way. That new growth is spring green, as opposed to the older dark green foliage, so the plant was putting on a beautiful show. I decided to divide it into 3 plants so 1 could stay in the kitchen, another would head to my bedroom and the 3rd would go to Lucy.
Some Of Our General Houseplant Guides For Your Reference:
- 3 Ways To Successfully Fertilize Indoor Plants
- How to Clean Houseplants
- Winter Houseplant Care Guide
- Plant Humidity: How I Increase Humidity For Houseplants
- Buying Houseplants: 14 Tips For Indoor Gardening Newbies
- 11 Pet-Friendly Houseplants
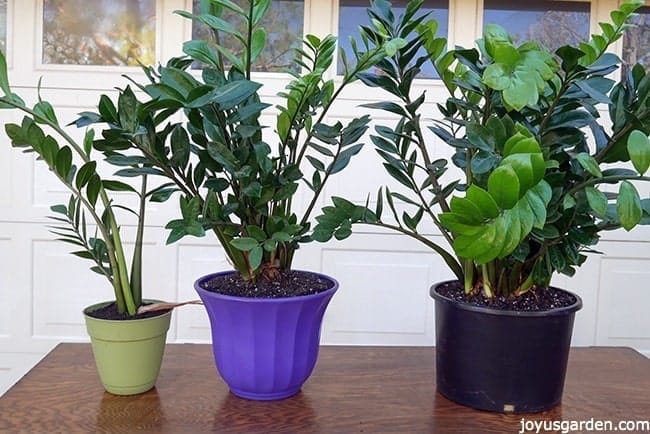
The 3 ZZ Plants sitting on my work table after their division.
Propagating a ZZ Plant by division:
I started by hoisting the plant out to my work table. It was extremely heavy because all the growth arises from underground rhizomes (they look like potatoes as the plant ages) which add quite a few pounds to a plant this size. This is a project I’d never done before and I wasn’t really sure how it would go. Without much prior thought, I jumped right in.
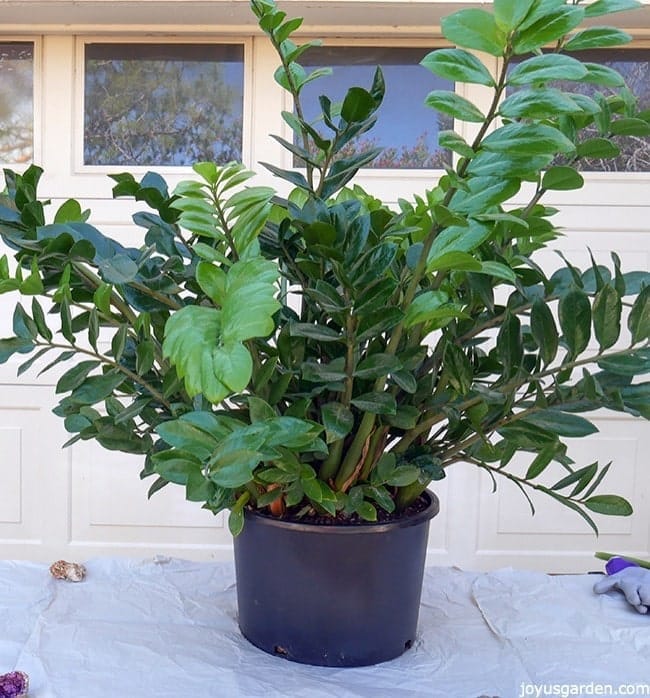
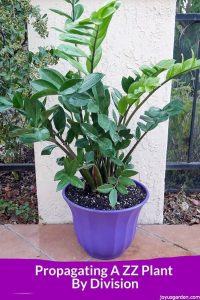
This is my gorgeous ZZ Plant before the dividing. You can see how much it’s grown in 11 months here.
First off, I ran the pruning saw around the perimeter of the root ball to loosen it from the grow pot. The plant was turned on its side and I firmly pushed on the pot to loosen the root ball even more. It pulled out with some coaxing and I stood the plant back up to suss out the situation.
This ZZ was so dense it was hard to get a clear dividing line, if you know what I mean. I picked the best point to cut into (which gave a 1/3 to 2/3 division) and starting saw away. It was a little tough getting through the fleshy roots and swollen rhizomes. The 95 degree heat added to the struggle but both the plant and I survived.
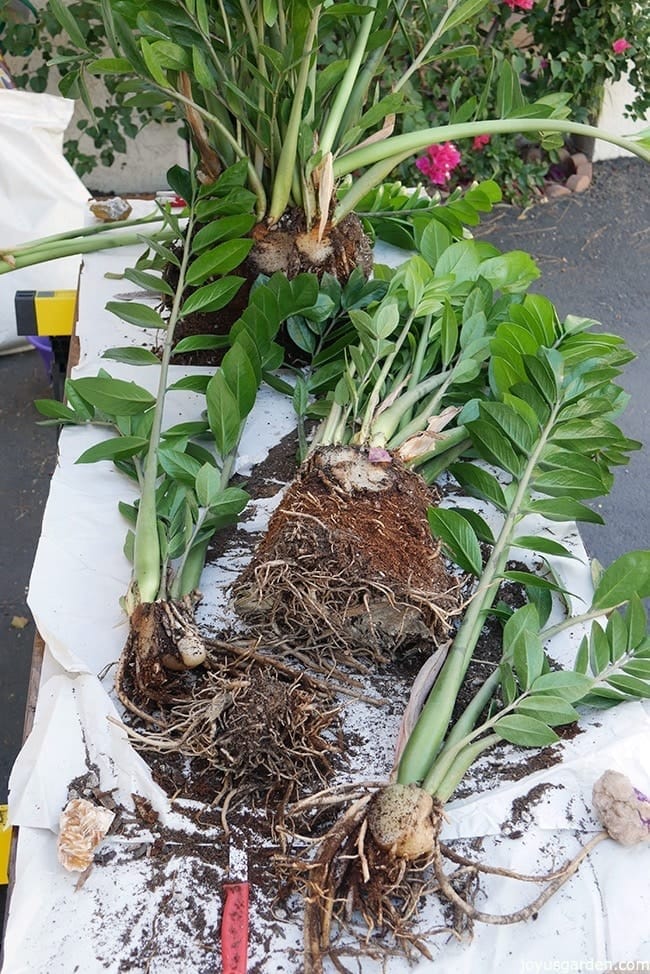 This is how I ultimately divided the ZZ Plant. The smallest piece was potted along with the largest plant.
I used a planting mixture of 3/4 potting soil with 1/4 succulent and cactus mix. A few handfuls of compost were tossed in along the way as well as a 1″ layer of worm compost towards the top. This all ensures that the mix will drain really well (those thick, fleshy roots & rhizomes store water so this plant is subject to rot) yet is adequately and naturally nourished.
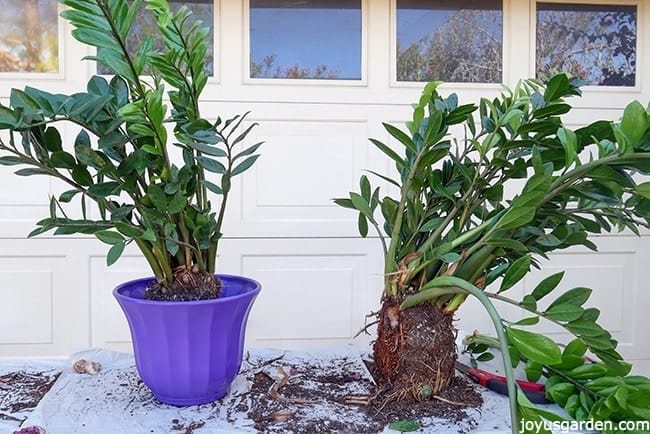
Both these ZZ Plants have a flat side where they were cut but will fill out fast. They’re such fine houseplants!
You can see all the steps I took when planting these ZZ Plants in the video above. After I finished, I took the 3 plants out to the garden and gave them a good and thorough watering. Hopefully, I won’t have to transplant the large one for a couple of years, but who knows. They certainly grow like a weed in these warm temps and a good dose of bright light!
Happy gardening & thanks for stopping by,


